CPN IDE 1.22.1117 has the option to play out a simulation to a log file. To create such a log file from a simulation, you can use the following description.
First, load your model into CPN IDE 1.22.1117 (or download and use the example model):
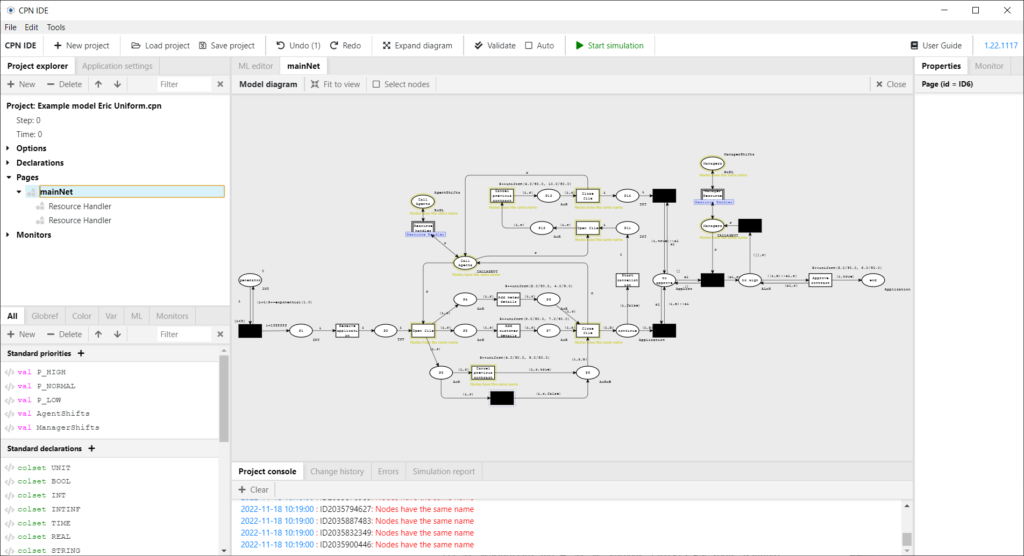
Second, start the simulation as usual by checking the “Start simulation” box:
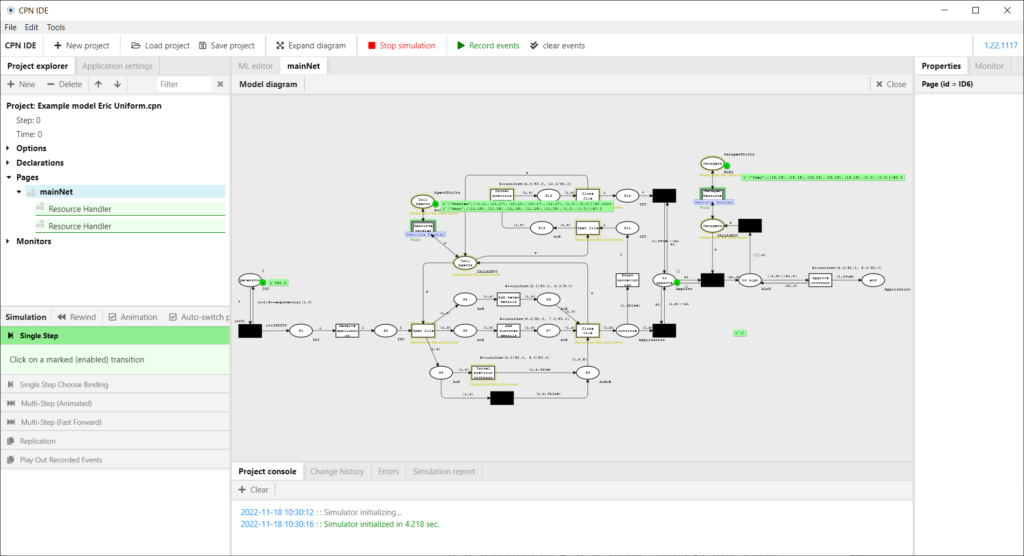
Third, check the “Record events” box:
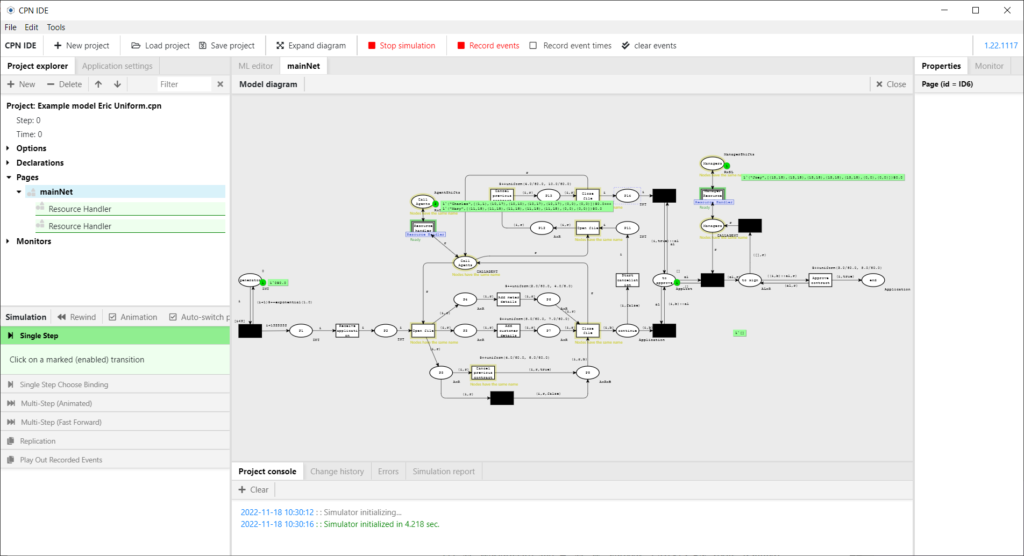
Fourth, check the “Record event times” box as well if you want the log to include timestamps:

Fifth, perform a simulation as usual:


The simulation has now ended.
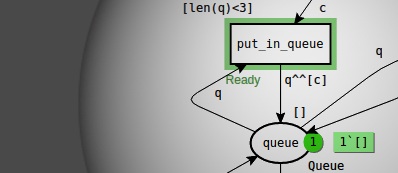
If timestamps should be recorded, then two events are recorded in the back for every transition that (1) was fired and (2) does not have black fill: A start event and a complete event. If a transition has a black fill, no events will be recorded. The timestamp for the start event simply equals the current simulation time when the transition fired, but the timestamp of the complete event is more involved. For this, we compare the token values in the new marking (after the transition has fired) with the token values in the old marking (before the transition fired), and take the lowest time of any token value in the new marking that is not in the old marking. If no such token value exists, the current simulation time is used. As an example, if a transition fires at time T and produces tokens at times T+1, T+2, and T+3, then the start event will have timestamp T and the complete event will have timestamp T+1.
If no timestamps should be recorded, only the start events will be recorded.
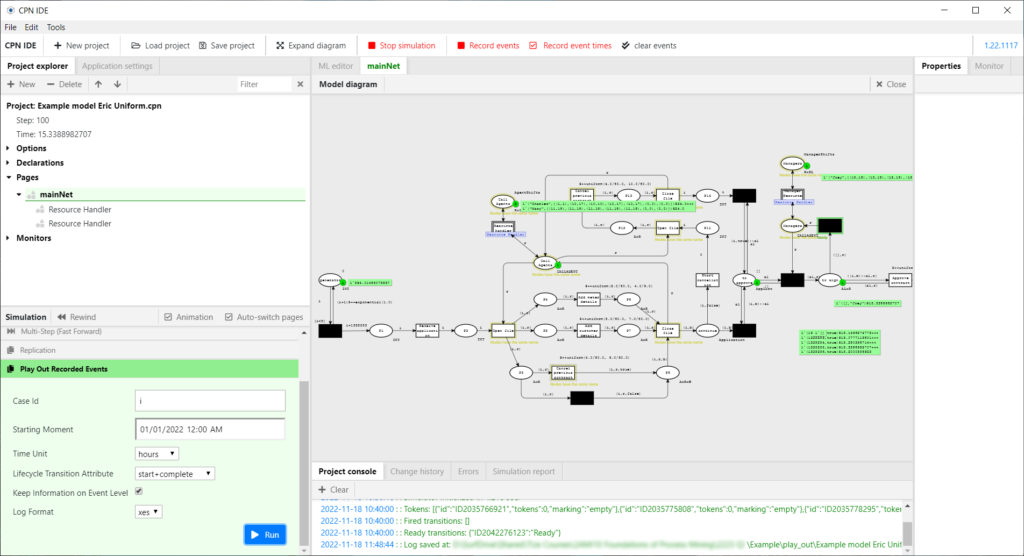
We can now export these recorded events to a log using the new “Play Out Recorded Events” form in the simulation panel:
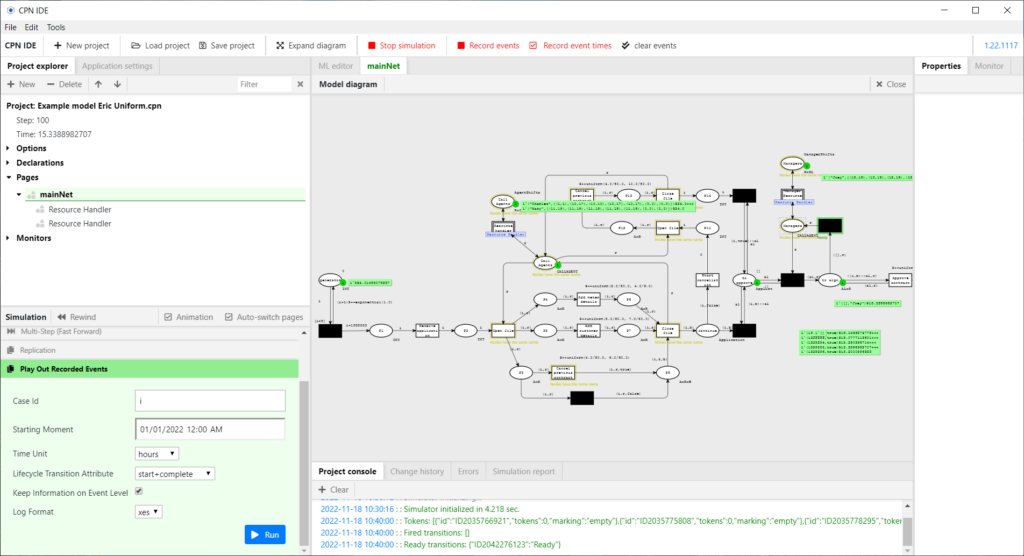
Sixth, provide the necessary configuration settings:
- Case Id: This should be the name of the variable that is used as the case id of an event. Only recorded events that have this variable in their binding will be exported.
- Starting Moment: The date and time that coincides with the simulation time 0.0.
- Time Unit: The relation between wall clock time and simulation time. As an example if set to “hours”, then a simulation time of 1.0 means one hour.
- Lifecycle Transition Attribute: Which events will be exported to the log:
- start: Only start events will be exported.
- complete: Only complete events will be exported.
- start+complete: Both start and complete events will be exported.
- in transition name: Only start events will be exported, but the lifecycle transition “start” will be replaced by the lifecycle transition as found in the transition name. As an example, if the transition name equals “activity+resume”, then “start” will be replaced by “resume”. If no valid lifecycle transition is found in the transition name, “start” will be replaced by “”.
- Keep Information on Event Level: Not used.
- Log Format: The format for the exported log, either “xes” or “csv”.
Seventh, select the “Run” button in the form, which will ask you for the name of the log file:
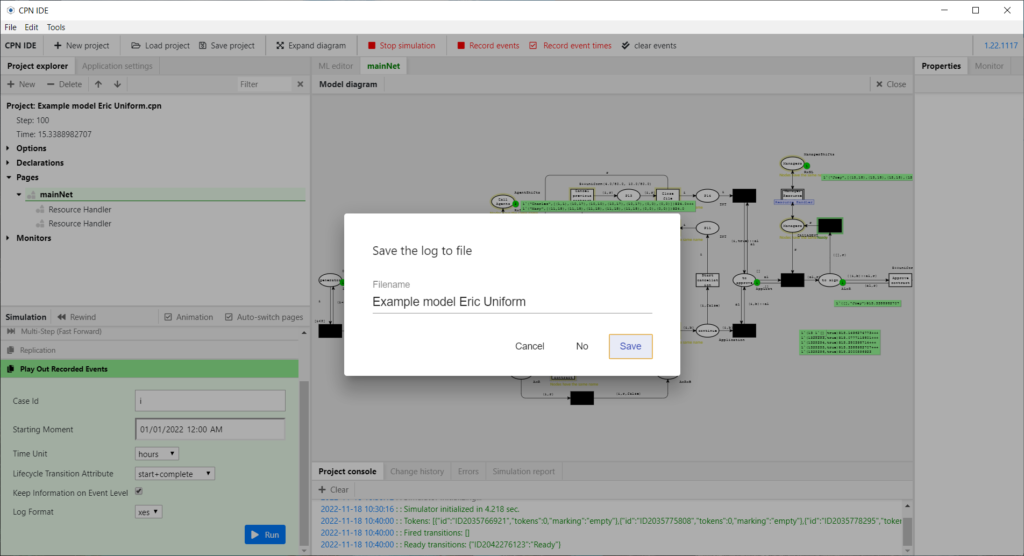
Please set the correct file name here, and select the Save button. The log will then be exported to a file with that name (with either the extension “.xes” or “.csv” added) into the local folder called “play_out”. This is shown on the Project console: